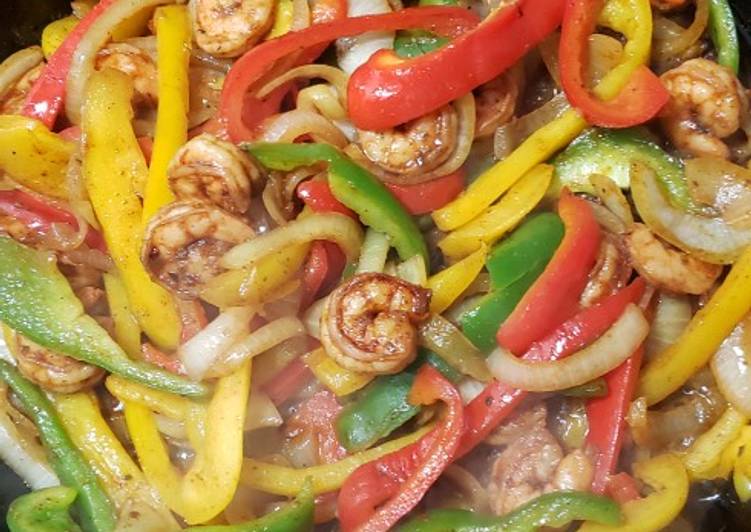
Skillet Shrimp Fajitas.
Yes, this is an easy recipe just considering the other ones. I think the hardest allocation is to find the best ingredients as a result you can enjoy the savory Skillet Shrimp Fajitas for your breakfast with your connections or family.
You can cook Skillet Shrimp Fajitas using 11 ingredients and 6 steps. Here is how you cook that.
Ingredients of Skillet Shrimp Fajitas
- You need 450 grams of shrimp, cleaned and deveined.
- Prepare 1 of red bell pepper sliced.
- It's 1 of yellow bell pepper sliced.
- It's 1 of green bell pepper sliced.
- Prepare 1 of large onion, sliced.
- You need 1/2-1 tsp of smoked paprika.
- You need 1/2 tsp of ground cumin.
- You need 1/2 tsp of chili powder.
- Prepare 1/2 tsp of garlic powder.
- You need 1/2 tsp of oregano.
- It's 1 of fresh lime.
Skillet Shrimp Fajitas step by step
- Mix together all of your seasoning and using half of the mix, season your shrimp and set aside.
- While shrimp is kickin' it with the seasoning, slice up all your veg..
- In a skillet, heat 1 tbsp of olive oil and cook your shrimp on medium-high heat until cooked, remove from pan and set aside.
- Add onions to the skillet and cook for 3-5 min. (We're adding the onions first because we want them to be soft but still have a bite to them, but we definitely want the veg to retain its crunch/bite and freshness..
- Add your peppers to the pan and mix together with onions, add the remaining seasoning to the pan. Cook until peppers are done to your liking (again, I prefer crisp, but you do you)- this is supposed to be simple afterall.
- Add your shrimp back to the pan, mix and squeeze the juice of 1 lime over everything and DONE! Enjoy!.
I would just inform you that recipe already tested, you helpfully follow all the cooking instructions and collect the ingredients to acquire the delicious Skillet Shrimp Fajitas. If you have questions or requests in relation to this article, interest right to use us as soon as possible. And don't forget to bookmark this page suitably you will easily find it over later. The content source: https://cookpad.com