Chicken Enchiladas.
Believe it or not this is a simple recipe just next the other ones. I think the hardest share is to locate the best ingredients as a result you can enjoy the savory Chicken Enchiladas for your dinner with your connections or family.
You can have Chicken Enchiladas using 9 ingredients and 7 steps. Here is how you cook it.
Ingredients of Chicken Enchiladas
- It's 2 of boneless, skinless chicken breasts.
- It's 2 teaspoons of cumin.
- Prepare 1 teaspoon of chili powder.
- Prepare 2 teaspoons of garlic granules.
- Prepare 1-2 teaspoons of salt.
- It's 1 of white onion, diced.
- You need 8 ounces of jack cheese, grated.
- Prepare 1 can of green chili enchilada sauce (I used Hatch brand).
- Prepare 8 of corn tortillas.
Chicken Enchiladas instructions
- Preheat oven to 350 degrees..
- Poach chicken breasts in salted water. Once cooked and cooled, shred with a fork..
- Heat a little olive oil in a skillet and sauté onion until softened and fragrant. Add chicken and cumin, garlic, chili powder, and salt and thoroughly mix..
- Get ready to assemble the enchiladas! Put light coating of enchilada sauce on bottom of 8x8 baking dish. Heat tortillas until pliable..
- Put about half a cup of chicken mixture in each tortilla and roll. Put rolled tortilla seam side down in baking dish. Repeat until all tortillas are filled and chicken is used..
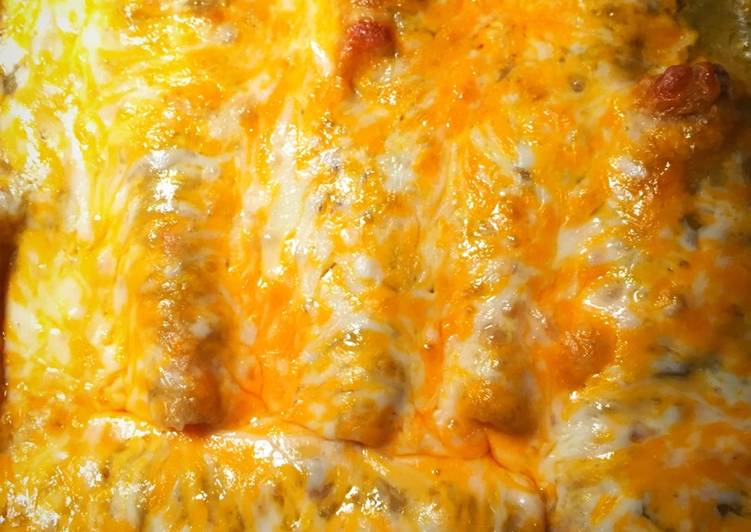
- Pour remaining enchilada sauce on top of filled tortillas. Sprinkle cheese on top..
- Bake for 15-20 minutes or until cheese is melted and top is to your desired "crustiness.".
I would just inform you that the recipe already tested by team, you suitably follow all the cooking steps and collect the ingredients to acquire the appetizing Chicken Enchiladas. If you have questions or requests in relation to this article, keep busy open us as soon as possible. And don't forget to bookmark this page hence you will easily find it once again later. The content source: https://cookpad.com