Cheesy Mexican Chili.
Literally this is a simple recipe just when the other ones. I think the hardest part is to find the best ingredients as a result you can enjoy the delicious Cheesy Mexican Chili for your lunch with your connections or family.
You can have Cheesy Mexican Chili using 11 ingredients and 5 steps. Here is how you achieve it.
Ingredients of Cheesy Mexican Chili
- You need 1 lb of Ground beef.
- Prepare 1 of large white onion.
- Prepare 1 of red bell pepper.
- You need 1 of green bell pepper.
- You need 1 can of pinto beans.
- Prepare 1 can of black beans.
- You need 1 can of kidney beans.
- It's 1 cup of salsa Verde.
- Prepare 1 1/2 cups of mexican blend cheese.
- You need 2 tablespoons of cholula hot sauce.
- It's of cooking oil/spray.
Cheesy Mexican Chili step by step
- First: dice up your vegetables and set them aside. Add olive oil to large stovetop pan and heat over medium heat. Add ground beef and brown then drain excess juices..
- Empty your bean cans into a large strainer and rinse until all preservatives are off the beans and water runs clean through the strainer. Add beans to ground beef and mix..
- Add your vegetables to the mix and continue to cook uncovered. Once vegetables have softened, add your salsa Verde and Hot Sauce to the mixture. Continue to cook while stirring until everything is coated with the salsa and starts to stick together..
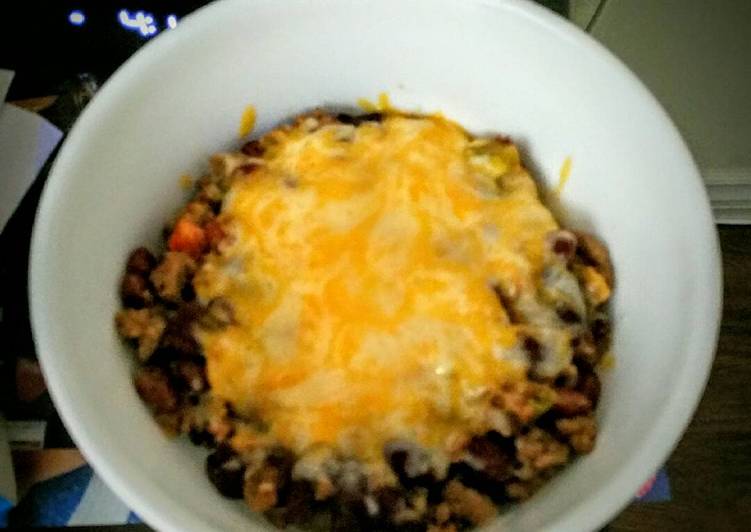
- Once chili is cooked, add cheese overtop and cover pan for 5 minutes to melt the cheese. Serve as is or add even more cheese afterwards!.
- To make the chili vegetarian: add an extra can or two of beans, remove ground beef for the recipe and use another small onion and bell pepper to the mix..
I will just to let you know the recipe already tested by team, you handily follow all the cooking instructions and collect the ingredients to get the delectable Cheesy Mexican Chili. If you have questions or requests in this area this article, occupy admittance us as soon as possible. And don't forget to bookmark this page so you will easily locate it again later. The content source: https://cookpad.com